

Who can use this feature?
System administrators only
This installation and setup guide is intended for System Administrators who are responsible for installing the connector and enabling the integration between Qwil Messenger and Curo
What to expect?
Integrations allow staff users to see communication under a client activity record in your CRM.
Deploying the connector involves a few simple steps:
Navigate to Administration > Third Party integrations then click Connect to Curo.
Input your URL domain for your Curo. environment.
Sign in to your Curo Account.
Agree connection request from Curo. Note that the Qwil connector app may show as "unverified" as requires a minimum of installations per region. This is a general policy and not linked to the security of the app.
You are now connected and the 3rd party integration for your CRM will appear in green.
Chats will be synced within 10 minutes for the previous day and daily at midnight thereafter. Make sure you set the Timezone under Settings.
Sync only applies for clients chats who are both on Qwil and on Curo and share the same email. If the client chat has not synced, please check the email of the Qwil user and the CRM match. Logs indicate the successful syncs if you click on the integration.
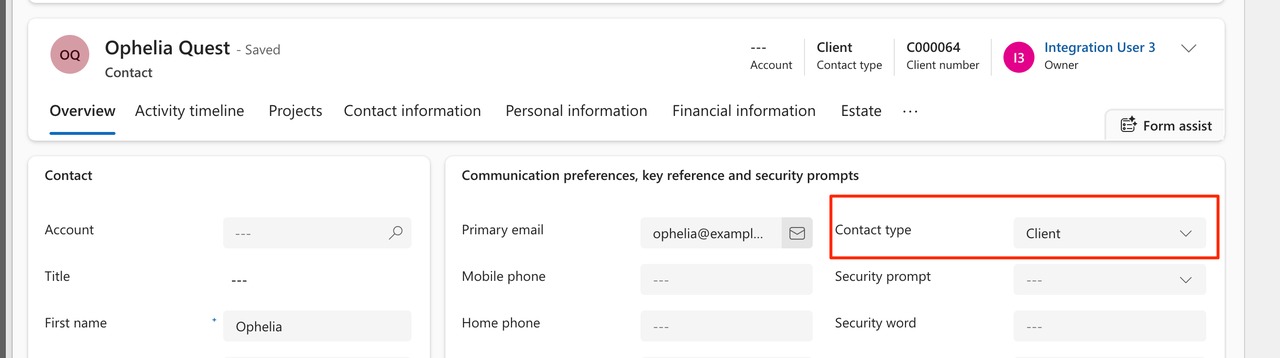
Sync will only be successfully if Contact type is set to "Client". No other Contact type will be synced.
The sync process is not retroactive for previous days / months and transcripts can be downloaded and uploaded to the CRM for previous periods.
In Curo, the chat notes will be created and added under "Qwil Messenger"
There is a limit of 15000 Curo contacts for sync. If you exceed this number in Curo, you will need to create a Team account or separate user account in Curo which you will connect to from Qwil Messenger - which only has the contacts that should be synced. Contact us if this is the case.
Process
Screens below show the steps mentioned in the section above
Watch the set up video here